


 GET FREE ROOF ESTIMATE

A chimney inspection and repair guide covers everything from reading early warning signs to choosing the right repair method, and for Harrisburg homeowners, it matters because seasonal temperature swings from 21 degrees to 86 degrees put constant stress on masonry year after year. Those temperature changes cause bricks, mortar, and flashing to expand and contract repeatedly, breaking down the structure faster than most homeowners realize.
Harrisburg’s housing stock makes this even more pressing. Many homes in the area were built between the 1920s and 1960s, with brick veneer, stone masonry, and clay-lined flues that have spent decades absorbing moisture from rain, snowmelt, and the region’s moderate humidity. An older chimney that looks fine from the ground can already have cracked mortar joints, a compromised liner, or failing flashing that is letting water in every time it rains.
This guide walks through how often inspections should happen, what warning signs to watch for, which repairs homeowners can handle themselves, and which ones require a licensed contractor. Cost expectations and seasonal timing are covered too. Whether a chimney needs minor repointing or a full liner replacement, this is the only resource needed to make a confident, informed decision.
*Please note, price ranges listed in this article may not reflect the final cost of your project. Prices are subject to change based on various factors such as local labor rates, material quality, and more. All costs established in this article are rough estimates based on average industry rates.
How Often Should a Chimney Be Inspected and Cleaned in Harrisburg, PA?
NFPA 211, the national standard for chimneys and fireplaces, requires at least one inspection per year for all chimney types, regardless of how often the fireplace is used. Cleaning frequency is separate and depends on the appliance type and how much residue accumulates with use. In Harrisburg, that annual schedule carries extra weight. With 25 inches of average annual snowfall, spring rainfall peaking at 4.6 inches in May, and repeated temperature swings between 21 degrees and 86 degrees, masonry deteriorates faster here than in more stable climates. Skipping even one annual inspection increases the risk of missing cracked mortar, liner damage, or flashing failure before heating season begins.
Inspection frequency and cleaning frequency are not the same thing. Every chimney, wood-burning, gas, pellet, or oil, needs a yearly inspection. Cleaning intervals depend on how much residue builds up during use. Wood-burning fireplaces deposit creosote quickly and need cleaning at least once a year. Gas appliances burn cleaner and may need less frequent cleaning, but still require annual inspection to catch liner corrosion, blockages, or venting problems.
| Chimney/Appliance Type | Recommended Inspection Frequency | Recommended Cleaning Interval |
|---|---|---|
| Wood-burning fireplace | Annually | Annually or every cord of wood burned |
| Gas fireplace or furnace | Annually | Every 2 to 3 years, or as needed |
| Pellet stove | Annually | Every heating season |
| Oil-fired appliance | Annually | Annually |
In Harrisburg, the best window for scheduling is May through October. Stable temperatures during those months allow mortar and repair compounds to cure correctly. Booking early in that window also helps avoid the fall rush, when contractors fill up quickly before heating season starts.
What Are the Warning Signs Your Chimney Needs Immediate Repair?
Some chimney problems can wait a few weeks for a scheduled appointment; others need attention before the next rain or the next fire. Knowing the difference can protect both the structure of a Harrisburg home and the people inside it.
- Smoke entering the living space: This is an emergency. Smoke backing into a room means the flue is blocked, the draft has failed, or the liner is cracked. Do not use the fireplace again until a professional inspects it.
- Visible structural lean or separation: A chimney that is visibly tilting or pulling away from the house has foundation or mortar failure severe enough to cause collapse. This requires immediate professional evaluation. Do not delay.
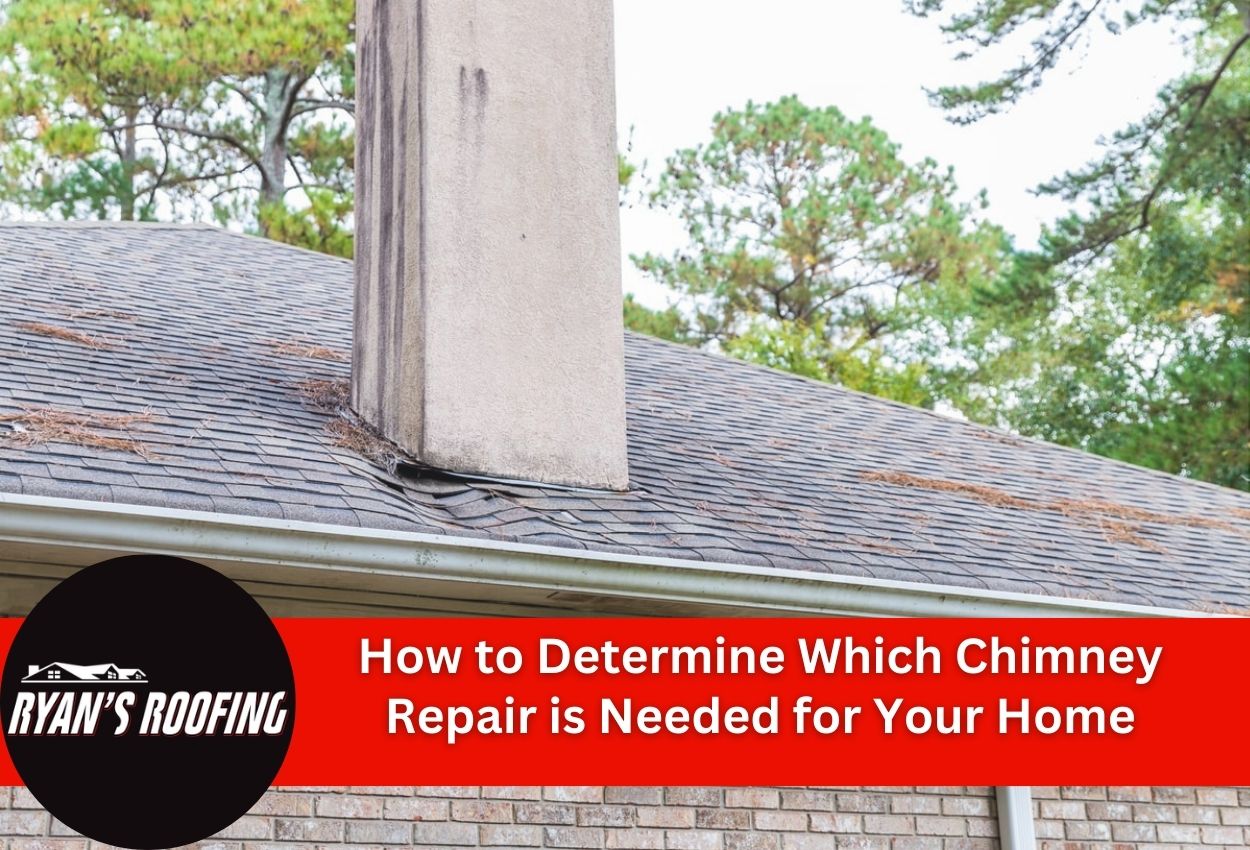
- Spalling bricks: When brick faces chip, flake, or fall off, moisture has worked into the masonry, and temperature changes between 21 degrees and 86 degrees are breaking it apart from the inside out. Left alone, spalling spreads fast and can compromise the entire chimney stack.
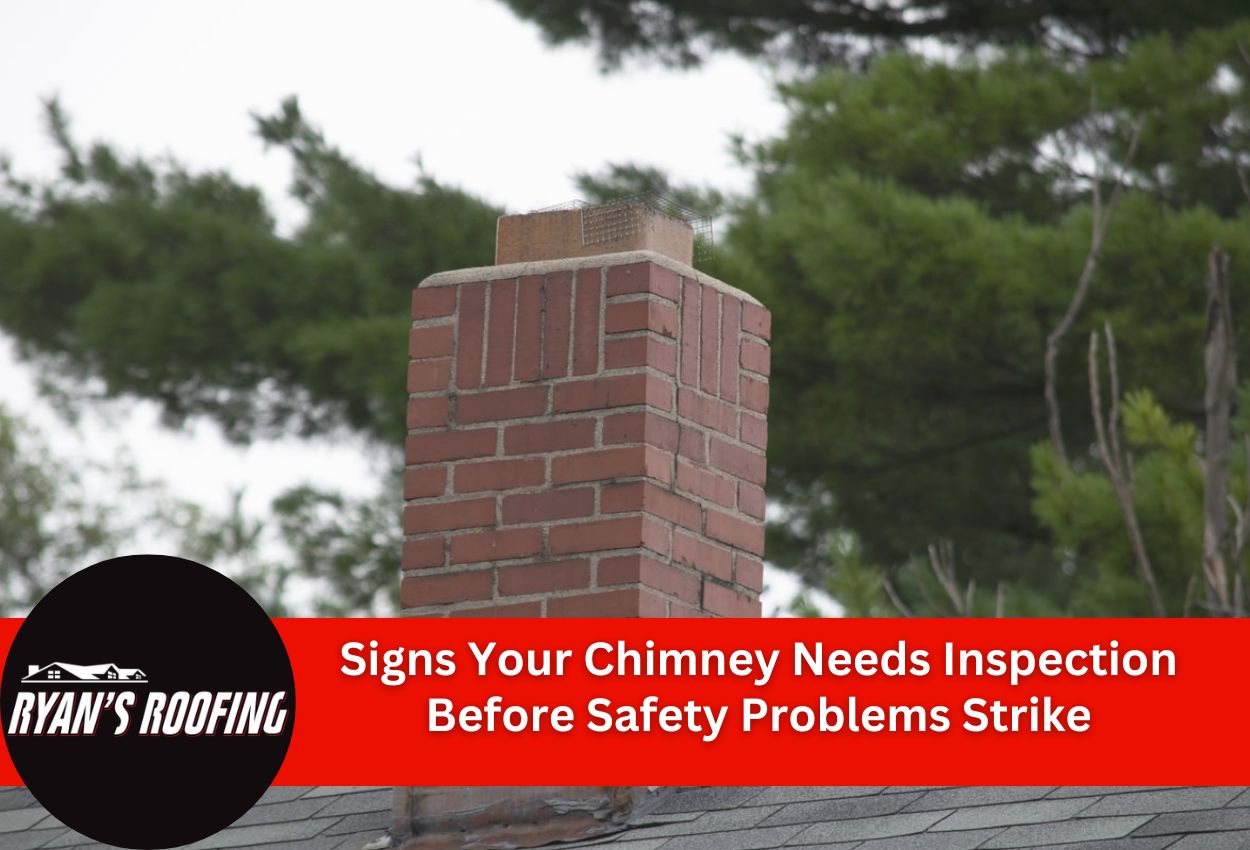
- Crumbling or missing mortar joints: This is one of the most common problems in Harrisburg’s older brick chimneys, especially those built between the 1920s and 1960s. Eroded mortar joints let water in, accelerating damage to the liner and surrounding masonry. Schedule repointing within the current season.
- White efflorescence staining: Those chalky white streaks on brick are a sign of active leaks. Water is moving through the masonry, carrying dissolved salts to the surface. The staining itself is not an emergency, but the moisture causing it is. Get it scheduled within 30 days.
- Water stains on walls or ceilings near the chimney: Interior water staining almost always points to flashing failure. In Harrisburg, ice dam formation during winter is a leading cause of flashing damage. This is urgent: water inside the structure causes mold and framing damage quickly.
- Damaged or missing chimney cap: A missing cap allows rainwater, birds, and debris directly into the flue. Harrisburg receives roughly 41.5 inches of precipitation per year, so an open flue is never a minor issue. Schedule replacement within a few weeks.
- Persistent smoke odor with no active fire: A smoky smell when the fireplace is not in use often signals creosote buildup or a cracked liner allowing gases to seep into the home. This needs inspection before the chimney is used again.
The triage rule is straightforward: smoke in the living space, structural movement, or interior water staining are stop-use emergencies. Surface efflorescence, minor mortar erosion, and a missing chimney cap are urgent-but-schedulable: they should be addressed within 30 to 60 days, not ignored until next season.
What Are the Three Levels of Chimney Inspection and Which Do You Need?
The National Fire Protection Association’s NFPA 211 standard defines three inspection levels, and the right one depends on your chimney’s history, how recently it was last inspected, and whether any major storm, such as a chimney fire or a home sale, has occurred. Each level builds on the last in both job scale and cost.
| Inspection Level | What Is Inspected | Tools and Methods Used | When It Is Required or Recommended | Approximate Cost Range |
|---|---|---|---|---|
| Level 1 | Accessible portions of the exterior, interior, and flue: chimney cap, crown, mortar joints, visible liner | Visual inspection: basic lighting: no special equipment | Annually, the same appliance in routine use with no changes | $75 to $250 |
| Level 2 | Everything in Level 1, plus attic, crawl space, basement, and full flue interior | Video scanning camera: no demolition required | Home sale or purchase, change in fuel type, after a chimney fire or severe storm | $150 to $600 |
| Level 3 | Everything in Levels 1 and 2, plus concealed areas requiring component removal | Demolition of specific chimney components to access hidden areas | Serious hazard suspected, Level 2 findings are inconclusive, structural failure possible | $500 to $1,000+ |
A homeowner who burned wood regularly last winter and has not changed appliances needs a Level 1, which is the standard annual inspection. A buyer purchasing a 1940s brick home in Harrisburg needs a Level 2, which is required in real estate transactions and gives a full picture of liner condition through video scanning. A homeowner who experienced a chimney fire or has visible structural concerns needs a Level 3, where components may be removed to find hidden damage.
Level 2 inspections are especially relevant in Harrisburg, where a large share of the housing stock predates 1970 and older clay-lined flues often show damage that a basic visual inspection will miss entirely. Buyers of pre-1970 homes should treat a Level 2 as non-negotiable before closing.
What Does a Chimney Inspection Cost and What Should You Expect?
A standard Level 1 chimney inspection in the Harrisburg, PA market typically runs $75 to $150, while a Level 2 inspection with video scanning costs $150 to $400 or more, and a Level 3 inspection can reach $500 to $1,000+ depending on the job scale. These are market estimates: contractor costs vary based on chimney condition, access difficulty, and whether cleaning is bundled into the visit. Requesting an itemized written estimate before any work begins is the clearest way to compare true costs across contractors.
| Inspection Level | Typical Cost Range | What’s Included | Cleaning Bundled? |
|---|---|---|---|
| Level 1 | $75 to $150 | Visual check of exterior, firebox, damper, visible flue, chimney cap, and crown: written findings report | Sometimes ask in advance |
| Level 2 | $150 to $400+ | Everything in Level 1, plus a full flue interior scan using a video camera: attic and basement checks, if accessible | Rarely quoted separately |
| Level 3 | $500 to $1,000+ | Everything in Levels 1 and 2, plus removal of components to access concealed damage: the most thorough job scale available | No, cleaning and repair are separate line items. |
During a professional inspection visit, homeowners should expect the contractor to walk the exterior first, checking mortar joints, brick condition, the chimney cap, and the crown for visible cracking or deterioration. Inside, the inspector checks the firebox, damper operation, and flue liner condition. A Level 2 adds a video scan of the full flue interior, which is the only reliable way to spot liner cracks or hidden blockages in older clay-lined systems common in Harrisburg’s pre-1970 housing stock. The visit should end with a written report that lists all findings and recommended repairs with clear descriptions.
Pennsylvania requires contractors performing home improvement work to register under the Home Improvement Consumer Protection Act if their annual work exceeds $5,000 in total revenue. Before hiring anyone for chimney inspection or repair, verify their registration and ask for proof of insurance. Ryan’s Roofing LLC serves Harrisburg homeowners with documented credentials and written estimates, so there are no surprises between the inspection and the repair quote.
Can You Do a Chimney Inspection Yourself? A DIY Checklist for Homeowners
A DIY chimney inspection is a useful supplemental tool for spotting obvious problems between professional visits, but it does not replace a certified chimney sweep’s assessment, especially for internal flue liner damage or combustion safety. Here is what a homeowner can reasonably check, and what tools are needed to do it safely from the ground or from inside the home.
Basic tools needed: a flashlight, binoculars for viewing the exterior from ground level, a mirror for looking up into the firebox, and a smartphone or camera to document what you find. Stay off the roof.
Exterior Checks
- Chimney cap condition: Look from the ground using binoculars. A missing or damaged cap lets rain, birds, and debris directly into the flue, a real concern in a market that receives roughly 41.5 inches of precipitation per year.
- Crown cracking: The concrete crown sits at the very top of the chimney. Check for visible cracks or crumbling edges. Even hairline cracks allow water in and get worse fast through temperature changes.
- Mortar joint erosion: Look along the brick joints for gaps, crumbling, or missing sections. This is one of the most common problems in Harrisburg’s older brick chimneys, many built between the 1920s and 1960s.
- Brick or stone spalling: Watch for brick faces that are chipping, flaking, or falling off. Spalling spreads quickly and can compromise the entire chimney stack if left alone.
- Flashing gaps or rust: Check where the chimney meets the roofline. Rusted metal, pulled-away edges, or visible gaps in the flashing are signs of a leak. A professional chimney flashing inspection and repair can address these issues before water damage spreads.
Interior Checks
- Firebox condition: Use a flashlight to inspect the firebox walls and floor for cracks, crumbling mortar, or missing firebrick. Document anything unusual with a photo.
- Damper operation: Open and close the damper by hand. It should move smoothly and seal fully when closed. A stuck or corroded damper is a common finding in chimneys unused for one or more seasons.
- Visible creosote buildup: Use a flashlight and mirror aimed up into the flue. A thin, dusty layer is Stage 1 and manageable. Thick, tar-like, or shiny black buildup is Stage 2 or Stage 3: stop use immediately and call a professional.
- Water stains or odors: Dark staining on firebox walls or a persistent smoky smell with no active fire both point to leaks or liner damage. Neither should be ignored past 30 days.
A DIY walkthrough covers what the eyes can reach. If any check turns up cracked flue tiles, collapsed liner sections, heavy creosote buildup, or signs of structural movement, the next step is a professional Level 2 inspection, not a DIY repair attempt. Observation is within reach for any homeowner: diagnosis and repair are not.
What Are the Most Common Chimney Defects Found in Harrisburg Homes?
Leaks are the leading cause of chimney deterioration in Harrisburg, and it shows up in four defects more often than any other: cracked clay flue liners, spalling brick, failed flashing, and eroded mortar joints. Harrisburg’s housing stock skews old, as a large share of homes was built between the 1920s and 1960s, and many of those chimneys have never had a full structural overhaul. Age combined with weather stress creates a predictable pattern of damage that repeats across the region.
Weather-Driven Structural Defects
Clay flue liners are standard in pre-1970 homes, and they crack under repeated temperature changes. Harrisburg temperatures swing from around 21 degrees in January to highs of 86 degrees in summer. That roughly 65-degree range expands and contracts the liner tiles every season, eventually cracking them along the seams. Once a liner tile cracks, combustion gases, including carbon monoxide, can escape into wall cavities. This is the most dangerous defect a homeowner can overlook.
Spalling brick follows a similar pattern. Water enters the face of the brick, freezes, expands, and pushes the outer layer off. What starts as a few flaking faces can spread across the entire chimney stack within a few seasons if not addressed. Flashing failure is equally common. Where the chimney meets the roofline, ice dam formation in winter and heavy spring rain Harrisburg receives roughly 41.5 inches of precipitation per year work together to lift and separate flashing from the masonry surface, opening a direct path for water entry.
Mortar joint erosion ties all of it together. Harrisburg’s proximity to the Susquehanna River Valley contributes to moderate, consistent humidity that seeps into aging mortar year-round. Over time, the joints hollow out, allowing moisture to leak deeper into the chimney structure and develop efflorescence, the white mineral staining visible on brick faces that signals water is moving through the masonry. When mortar joints are visibly recessed or crumbling, tuckpointing is not optional: it is the repair that stops water from reaching everything behind the brick. Detailed guidance on tuckpointing, flashing repair, liner replacement, and chimney cap installation is covered in the companion guides linked throughout this resource.
Creosote Buildup: A Combustion Defect
Creosote is not a weather defect: it is a byproduct of burning wood that deposits inside the flue with every fire. It progresses through three stages. Stage 1 is a light, dusty layer that a standard chimney sweep removes easily. Stage 2 is a thicker, tar-like coating that requires stronger mechanical tools. Stage 3 is glazed, hardened, creosote-shiny, black, and dense, which poses a direct chimney fire risk and requires professional chemical treatment or mechanical removal before the fireplace can be used safely again. Any sign of Stage 3 glazing means stop using the fireplace immediately and schedule a professional inspection.
How Do You Repair a Cracked Chimney Flue Liner: Options, Methods, and Costs?
A cracked chimney flue liner is a fire and carbon monoxide hazard that cannot be deferred. Combustion gases escaping through liner cracks can enter wall cavities and living spaces with no visible warning. The liner’s job is to contain heat and corrosive byproducts of combustion while protecting the surrounding masonry. When it fails, the entire chimney system becomes a safety risk. Three repair methods cover most situations, and the right choice depends on how much damage exists and what appliance the chimney serves.
| Repair Method | Best Use Case | Durability / Lifespan | Approximate Cost Range | DIY or Professional Only? |
|---|---|---|---|---|
| Cast-in-place ceramic resurfacing | Structurally sound liner with minor cracks: no missing tiles or collapsed sections | 20 to 50 years with proper maintenance | $1,500 to $3,500 | Professional-only specialized equipment and materials are required |
| Flexible stainless steel liner insertion | Moderate-to-severe damage: appliance upgrades (gas inserts, wood stoves): faster installation timeline | 15 to 25 years, depending on grade and use | $2,500 to $5,000+ | Professional-only sizing, sealing, and termination cap must meet code |
| Full clay tile liner replacement | Complete liner failure: older chimneys undergoing full restoration: no viable existing liner | 50+ years when properly installed | $4,000 to $8,000+ depending on chimney height and access | Professional-only structural work requires a licensed contractor |
Flexible stainless steel liners and ceramic coatings are the two methods most commonly used in Harrisburg-area chimney repairs today, largely because they work well in the pre-1970 clay-lined chimneys that make up a large share of local housing stock. Pennsylvania requires contractors performing home improvement work to hold a valid HICPA registration when their annual home improvement revenue exceeds $5,000, which means all three of these repair methods must be performed by a properly registered professional.
Before signing any estimate, verify the contractor’s license number and request proof of insurance. Ryan’s Roofing LLC serves Harrisburg homeowners with the documented credentials and written estimates that the scale of this job requires.
What Other Chimney Repairs Are Commonly Needed and What Do They Cost?
Most chimney repairs fall into a predictable set of categories, with costs ranging from under $200 for a simple cap swap to $3,000 or more for structural masonry work. The table below breaks down the 7 most common repairs, what causes each one, and what Harrisburg homeowners can expect to pay.
| Repair Type | Primary Cause | Approximate Cost Range | Complexity Level |
|---|---|---|---|
| Tuckpointing/mortar joint repointing | Age and moisture erosion in brick joints, especially common in Harrisburg homes built between the 1920s and 1960s | $500 to $2,500 depending on the extent | Moderate requires proper mortar mix and curing time |
| Chimney crown repair or replacement | Temperature changes cause cracking in the concrete cap: even hairline cracks allow water intrusion, that get worse with each season | $300 to $1,500: full replacement up to $2,000 | Moderate to high full reconstruction is structural work |
| Chimney cap installation | A missing or damaged cap allows rain, animals, and debris into the flue | $150 to $600 installed | Low straightforward replacement |
| Flashing repair or replacement | Ice dam seasons and heavy spring rain lift and separate flashing from masonry: flashing failure is the leading cause of water intrusion at the chimney-roof junction | $300 to $1,500 depending on the job scale | Moderate requires roofing and masonry coordination |
| Spalling brick repair | Water enters the brick face, freezes, and pushes the outer layers off; it spreads across the stack if left untreated | $700 to $3,000+ depending on spread | High widespread spalling may require partial rebuilding |
| Waterproofing / sealant application | Unprotected masonry absorbs moisture year-round: Harrisburg’s humidity accelerates deterioration in aging brick | $200 to $600 for most chimneys | Low preventive treatment applied after other repairs |
| Damper repair or replacement | Corrosion or disuse seizes the damper plate: a stuck damper wastes heat and allows outside air leaks | $150 to $500 for most repairs | Low to moderate top-mount replacement is straightforward |
Chimney cap installation, damper repair, and waterproofing sit at the lower end of both cost and complexity: these are good starting points for homeowners working within a tight budget. Spalling brick repair and crown reconstruction are higher-cost structural interventions that should not be deferred, since both get worse quickly with each season of temperature changes. Bundling multiple repairs into a single contractor visit typically reduces total costs compared to scheduling each job separately. Mobilization, setup, and access account for a meaningful share of any chimney repair bill. Spring scheduling in Harrisburg is particularly well-suited for tuckpointing and crown work, since fresh mortar requires several weeks of above-freezing temperatures to cure fully before the next freeze season arrives.
Should You DIY Chimney Repairs or Hire a Professional in Harrisburg, PA?
Most chimney repairs in Harrisburg require a licensed professional, but a small category of low-risk tasks can be handled by a skilled, safety-conscious homeowner with the right materials and no roofline access required.
Repairs a Careful DIYer Can Handle
- Chimney cap replacement: A standard stainless steel cap can be swapped out at ground or ladder level on single-story chimneys, provided the cap size matches the flue opening and no structural damage is present beneath it.
- Minor exterior caulking: Small gaps at exterior joints, not at the flashing line, can be sealed with chimney-rated, high-heat flexible sealant rated for temperatures above 500 degrees Fahrenheit. Standard silicone caulk is not an acceptable substitute.
- Chimney-rated waterproofing sealant: Breathable, vapor-permeable waterproofing products designed for masonry chimneys can be applied to sound, undamaged brick. Never use film-forming sealants: they trap moisture inside the brick and accelerate spalling.
- Clearing firebox debris: Ash and loose debris removal from the firebox interior is safe when the damper is closed, the fireplace has been cool for at least 24 hours, and a HEPA vacuum is used to prevent soot from entering living spaces.
Repairs That Require a Licensed Professional
- Flue liner repair or replacement: cast-in-place resurfacing ($1,500 to $3,500), flexible stainless steel insertion ($2,500 to $5,000+), and full clay tile replacement ($4,000 to $8,000+) require a HICPA-registered contractor and involve the combustion pathway directly.
- Tuckpointing and mortar joint repointing: Proper mortar selection, joint depth, and curing conditions require professional skill. Using standard Portland cement instead of refractory mortar in firebox or crown repairs is one of the most common and damaging DIY mistakes.
- Crown reconstruction and flashing replacement: Both involve structural masonry above the roofline and direct water management at the chimney-roof junction. Fall protection, proper sequencing, and code compliance are required.
- Any work inside the flue or combustion system: Creosote removal beyond Stage 1, damper replacement inside the flue throat, and liner work require specialized tools and training that go well beyond standard DIY capability.
Before starting any chimney task, run through four deciding factors: Do you have materials rated for chimney-specific high-heat applications? Is any part of the work above the roofline? Does it involve the flue or combustion pathway? Is the contractor you’re considering registered under HIPAA? If the answer to any of these is concerning, stop and call a registered contractor.
For most homes in Harrisburg’s older housing stock, many built between the 1920s and 1960s, a licensed masonry or roofing contractor is the safest path, and getting multiple written estimates before committing is standard best practice.
How Do Harrisburg’s Seasons Affect When You Should Schedule Chimney Inspection and Repair?
May through October is the practical window for chimney inspection and repair in Harrisburg, with spring and early fall offering the best conditions for mortar work. Harrisburg’s January lows average 21 degrees, cold enough to freeze moisture trapped in freshly repaired masonry before it cures, causing the new mortar to crack and fail within a single season. That risk makes winter essentially off-limits for any structural masonry repair.
Spring, specifically May and June, is the best time to schedule a post-winter inspection. Temperatures are stable, mortar cures reliably, and contractor schedules are more open than they will be in October. Booking a spring inspection gives homeowners the full summer repair window, July and August, if defects are found, rather than rushing repairs into a narrow fall slot. Most repair work proceeds normally through summer, though extremely hot days can affect how quickly mortar sets at the surface, so experienced contractors plan accordingly.
Fall: The Last Practical Window Before Heating Season
September and October are the last months to complete masonry repairs before the heating season begins. October is the deadline, not mid-November. Fresh mortar needs several weeks of above-freezing temperatures to cure fully, and Harrisburg temperatures can drop hard and fast once November arrives. Repairs left until November carry a real risk of failure before the first hard freeze.
Winter: Inspections Only
Winter is not suitable for mortar-based repairs, but emergency visual inspections can still happen. If a chimney shows active damage mid-winter, such as crumbling brick, a missing cap, or visible separation at the flashing, an inspector can document the damage and prepare a repair plan for spring. Annual spring inspections remain the most reliable way to stay ahead of cumulative wear from Harrisburg’s seasonal temperature swings.
How Long Do Chimney Repairs Last and What Affects Their Longevity?
A stainless steel flexible liner lasts 15 to 25 years, while a properly built chimney crown can last 20 to 30 years, but those numbers assume quality materials and correct installation from the start. Lifespan varies widely by repair type. Harrisburg’s temperature swings, spring moisture, and snowmelt all work against masonry year-round.
| Repair or Component | Expected Lifespan | Key Factor Affecting Longevity |
|---|---|---|
| Clay flue liner (sound condition) | 50+ years: failure is common in 50- to 80-year-old liners | Age, undetected cracking, and lack of inspection |
| Stainless steel flexible liner | 15 to 25 years | Moisture exposure and quality of installation |
| Chimney crown | 20 to 30 years | Proper construction and refractory mix: hairline cracks get worse each season |
| Tuckpointing | 20 to 30 years | Mortar quality and weather exposure: standard Portland cement fails faster |
| Flashing (lead, aluminum, or copper) | 15 to 30 years, depending on the material | Ice dam seasons and spring rain accelerate separation |
| Chimney cap | 10 to 20+ years depending on material | Stainless steel outlasts galvanized: exposure and fit matter |
Several factors specific to Harrisburg shorten these ranges in practice. Temperature changes stress masonry through repeated expansion and contraction. Spring rains and snowmelt drive moisture into any open joint or crack. Using non-refractory mortar, a common shortcut leads to early failure at the crown and firebox. Deferred maintenance is the biggest threat: a small crack left alone for two seasons can become a structural problem by the third.
Material quality and contractor workmanship control the difference between a repair that lasts 15 years and one that fails in 5. Hiring an experienced licensed professional who uses chimney-rated materials is not just the safer choice: it is the lower-cost choice over time, since doing it right the first time avoids repeat repairs on the same component.
How to Find and Vet a Chimney Inspection and Repair Contractor in Harrisburg, PA
Start by confirming that any chimney contractor is registered under Pennsylvania’s Home Improvement Consumer Protection Act, required for any contractor performing more than $5,000 in annual home improvement work, before scheduling an inspection or agreeing to any work. Any professional roofing or chimney contractor doing this work regularly will meet that threshold and must be registered. A quick vetting process protects Harrisburg homeowners from expensive mistakes.
- Verify the Pennsylvania contractor license: Ask for the license number directly and confirm it through the Pennsylvania Attorney General’s Home Improvement Consumer Protection Act registry. Any contractor who hesitates or cannot provide a number on request should be disqualified immediately.
- Check chimney-specific certifications: For sweep and inspection work, look for CSIA (Chimney Safety Institute of America) certification. For installation or liner work, NFI (National Fireplace Institute) certification signals additional training beyond a general contractor’s background.
- Confirm Dauphin County or Harrisburg business registration: Local registration adds a layer of accountability. A contractor who operates without it may not be reachable after the job is complete.
- Request proof of liability insurance and workers’ compensation: Both are required. Rooftop chimney work carries real injury risk, and a contractor without workers’ compensation coverage can expose the homeowner to liability.
- Get 2 to 3 written, itemized estimates: Written estimates allow a direct comparison of materials, job scale, and labor. Verbal-only quotes with no written breakdown are a red flag, not a convenience.
- Ask for references from comparable local projects: A contractor who has worked on 1920s- to 1960s-era brick homes in Harrisburg will have relevant experience with the mortar types, flashing conditions, and masonry styles most common in the area.
Watch for these red flags: door-to-door solicitation immediately after storms, pressure to authorize same-day work before any inspection documentation exists, and contractors who cannot produce a Pennsylvania license number on request. Roofing contractors who specialize in chimney flashing and masonry, like Ryan’s Roofing LLC, are well-positioned to assess the roof-chimney interface, and bundling chimney repair services with a roof inspection can reduce overall costs for homeowners dealing with aging roofs and chimneys at the same time.
Ready to Protect Your Chimney? Schedule an Inspection With Harrisburg’s Trusted Roofing Experts
Catching a cracked crown or failed flashing early, before moisture works through 2 or 3 freeze seasons, is the difference between a manageable repair and a structural rebuild. Ryan’s Roofing LLC works with Harrisburg homeowners on homes built between the 1920s and 1960s, where aging masonry and worn flashing are the norm, not the exception.
The company holds the Pennsylvania HICPA contractor registration required for residential home improvement work in Harrisburg and brings hands-on experience with the roof-chimney interface that general contractors often lack.
Schedule your free chimney inspection.
Not ready to schedule? Learn more about chimney and roof repair services.