
 GET FREE ROOF ESTIMATE
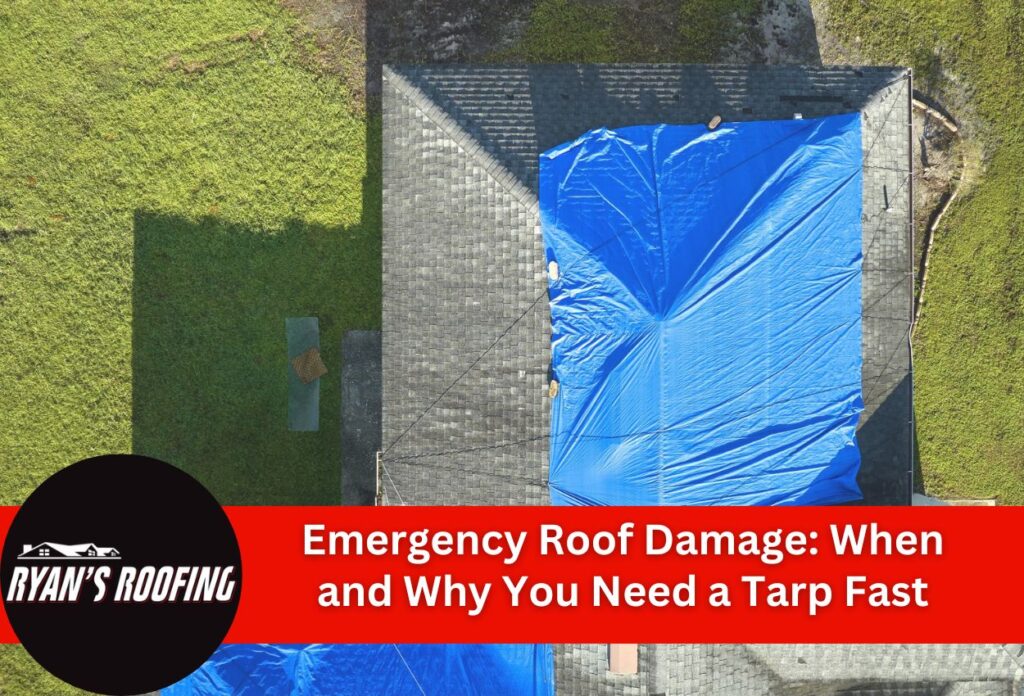
Emergency roof protection serves as the critical barrier between your home’s interior and the elements. Storm-damage roof repairs often take days or weeks to complete, leaving temporary roof covering as the only defense against continued water damage. During these vulnerable periods, a proper roof tarp installation prevents thousands of dollars in additional damage to ceilings, walls, flooring, and personal belongings.
Common emergencies that require immediate tarping include wind-damaged shingles, hail-damaged roofs, ice-dam formation, and structural damage from falling trees.
Roof leak prevention through effective tarping requires understanding both the urgency of the situation and the proper techniques to ensure the temporary covering stays secure until permanent repairs restore full protection to the home.
Choosing the Right Tarp and Materials for Your Roof
Selecting appropriate materials for emergency roof protection requires understanding the different tarp options and their specific applications. Heavy-duty polyethylene tarps offer excellent waterproofing capabilities and come in various thickness ratings measured in mils. A minimum 6-mil thickness provides adequate protection for most situations, while tarps at 16-mil or thicker deliver superior durability for extended coverage periods.
The size of the tarp directly impacts how effectively it covers damaged areas. Proper roof tarp installation requires materials that extend at least 4 feet beyond the damaged section on all sides to ensure complete water deflection. Blue poly tarps remain the most common choice for temporary roof covering due to their affordability and UV resistance.
Essential hardware for secure installation includes galvanized roofing nails, wood screws, and 1×4-inch wooden strips for creating proper attachment points. Safety equipment, including non-slip footwear, work gloves, and proper ladder systems, ensures safe installation during roof leak prevention efforts.
Safety First: Preparing Yourself and Your Workspace
Proper safety preparation determines the difference between successful roof tarp installation and dangerous accidents. Weather conditions play the most critical role in determining whether to attempt emergency roof protection work. Never attempt tarping during active storms, high winds exceeding 25 mph, or when surfaces remain wet and slippery. Ice, snow, or temperatures below freezing create extremely hazardous conditions that require professional intervention rather than DIY attempts.
Essential safety gear includes non-slip rubber-soled boots with ankle support, work gloves for a secure grip, long pants, and long sleeves that protect against scrapes and cuts during temporary roof covering installation. The appropriate clothing to wear would be anything that allows free movement without excess loose fabric that could catch on parts of the roof.
Assessing the stability of your roof before climbing becomes paramount for safe roof leak prevention work. Check for sagging areas, loose or missing shingles, and structural damage that could compromise footing. Damaged decking or weakened roof structures require immediate professional evaluation rather than homeowner intervention.
Having a capable helper on the ground ensures communication and emergency response capability throughout the storm damage roof repair process. Establish clear signals and keep cell phones accessible and nearby for emergencies. Positioning ladders on stable, level ground with a proper angle and secure footing helps reduce the risk of falling.
Professional roofing contractors should handle installations involving steep pitches, extensive damage, or situations where DIY attempts can create safety concerns during the installation process.
The Tarp Installation Process
Begin by assessing the damaged area from ground level to determine the minimum coverage required. The tarp must extend at least 4 feet beyond all edges of the damaged section to ensure adequate water diversion. This overlap prevents water from seeping underneath the temporary roof covering and reaching vulnerable areas of the home’s structure.
Position the tarp so that water flows naturally toward gutters and away from the building’s foundation. The sandwich board technique provides the most secure attachment method for how to secure a roof tarp properly. This involves placing wooden strips along the tarp edges and securing them with roofing nails or screws every 12 to 18 inches. This creates a tight seal that prevents wind uplift and leaks.
Start installation at the highest point of the roof and work downward, maintaining proper drainage flow. Secure the upper edge first using the sandwich board method, then stretch the tarp taut before fastening the sides and bottom edges. Avoid over-tightening, which can tear the material during wind events.
Pay special attention to corners and potential collection points where water might pool. Proper fastener spacing prevents gaps that compromise the emergency roof protection system. The completed installation should present a smooth surface without wrinkles or loose areas that could catch wind or allow water accumulation during storm damage.
Securing Against Wind and Weather
Advanced anchoring methods become essential when standard installation techniques face extreme weather conditions. Wind uplift poses the greatest threat to temporary roof covering systems, requiring additional securing measures beyond basic nailing patterns. Creating redundant attachment points using rope systems provides extra security during high-wind events. Run heavy-duty rope or paracord from one side of the tarp to the other, threading through grommets and tying off to secure anchor points such as chimneys, vent pipes, or the opposite roof edge.
Sandbags or water-filled containers strategically placed along tarp edges add weight-based resistance against wind forces. Position these weights every 6 to 8 feet along the perimeter, ensuring they rest on structurally sound areas of the roofing system. This additional ballast helps maintain the tarp position during severe weather events while professional storm damage roof repair remains pending.
Proper drainage management prevents water accumulation that creates dangerous loads on both the tarp and the underlying roof structure. Water pooling adds significant weight and stress that can cause tearing or complete failure of the emergency roof protection system. Create slight slopes using additional lumber pieces placed strategically under the tarp to direct water flow toward drainage points.
Regular inspection of the roof tarp following bad weather ensures continued effectiveness. Check for loose fasteners, torn sections, or areas where water might be getting into the temporary covering system.
Installation Mistakes That Can Lead to Failure
Improper tarp sizing represents one of the most frequent errors in emergency roof protection installations. Many homeowners underestimate the coverage area needed, selecting tarps that barely cover the visible damage. This insufficient overlap allows water to get underneath the edges, creating new leak points and potentially causing more extensive damage than the original problem. The tarp must extend well beyond damaged areas to provide effective roof leak prevention, yet this critical requirement often gets overlooked in urgent situations.
Inadequate fastening methods create another common failure point in roof tarp installation efforts. Using standard household nails or insufficient fastener spacing leaves the temporary roof covering vulnerable to wind uplift and displacement. Many installations fail because fasteners were placed too far apart or driven through the tarp material without proper backing strips. This creates points of stress that tear during weather, compromising the entire storm damage roof repair protection system.
Positioning errors frequently occur when installers focus solely on covering damaged areas without considering water flow patterns. Placing tarps against the natural drainage slope or creating low spots where water can pool leads to accumulation problems that stress both the tarp and the underlying structure. These drainage issues often result in complete system failure during subsequent rain events.
Shortcuts in material selection typically backfire when lightweight or inappropriate tarps fail under normal weather conditions, requiring emergency re-installation during active storms when conditions become far more dangerous for homeowners attempting repairs.
Monitoring Your Temporary Fix Until Professional Repair
Establishing a consistent inspection routine ensures the temporary roof covering maintains its protective capabilities throughout the waiting period before professional storm damage roof repair begins. Check the roof tarp installation twice a week, with additional inspections following any significant weather events. Visual examinations from ground level can reveal obvious problems like sagging, tearing, or displaced sections that compromise emergency roof protection effectiveness.
Focus inspection efforts on critical stress points, including fastener locations, corner areas, and the edges where the tarp meets the roof surface. Look for signs of wear, such as fraying around nail holes, stretched material near attachment points, or areas where repeated wind movement has weakened the temporary roof covering. Water stains on the tarp’s underside indicate potential leak points that require immediate attention to maintain roof leak prevention capabilities.
Weather monitoring becomes equally important during the temporary protection period. High winds, heavy rainfall, or temperature fluctuations can affect how to secure a roof tarp installation differently than initial conditions. Plan inspection schedules around weather forecasts to identify potential problems before they compromise the protective system.
Document any changes in the tarp’s condition through photographs and notes. This information helps roofing contractors understand what protection measures were in place and assists in planning permanent repairs. Replace or reinforce sections showing significant deterioration rather than waiting for complete failure that could expose the home’s interior to additional water damage during the temporary protection period.
Secure Your Roof Today with Ryan’s Roofing LLC
If you’ve experienced roof damage, it’s crucial to act fast to prevent further harm to your home. Whether it’s from severe weather, fallen debris, or unexpected leaks, knowing how to secure a roof tarp effectively is essential for protecting your property. Ryan’s Roofing LLC specializes in emergency roof tarp installation, providing you with quick and reliable solutions to shield your home from additional damage.
Don’t wait for the situation to get worse. Temporary coverings can save thousands in potential repairs by keeping water out of your roofing system. Our team at Ryan’s Roofing LLC uses top-quality materials and expert techniques to ensure your roof is secure and fully protected until permanent repairs can be made. Remember, improper tarp installation can lead to significant issues, including structural stress and increased leakage.
For professional assistance and to ensure your home stays dry and safe, call Ryan’s Roofing LLC now at (717) 608-1587. Let us help you protect your investment with the right emergency roof protection.
Related Articles
-
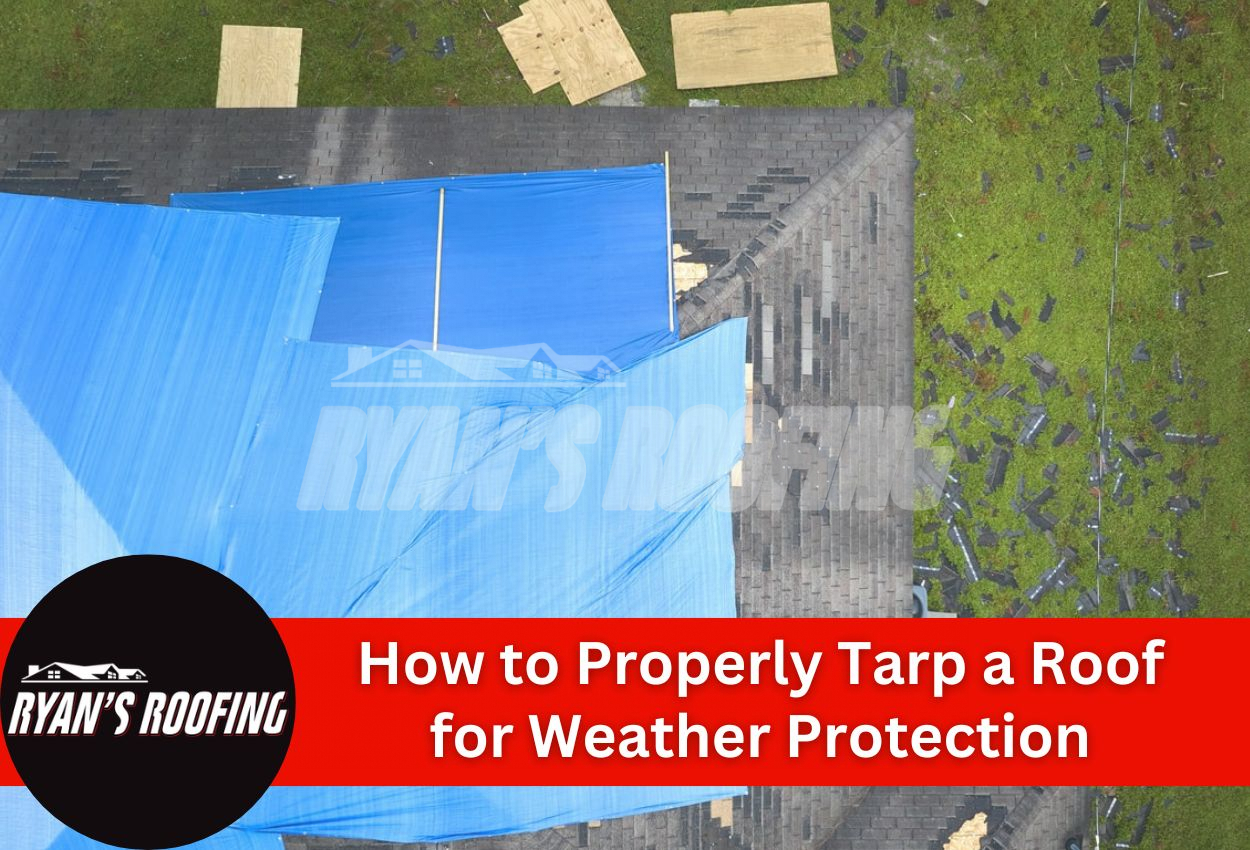 December 18, 2024How to Properly Tarp a Roof for Weather ProtectionIs your roof storm-ready? Discover expert tips on tarping your roof to prevent damage.
 -
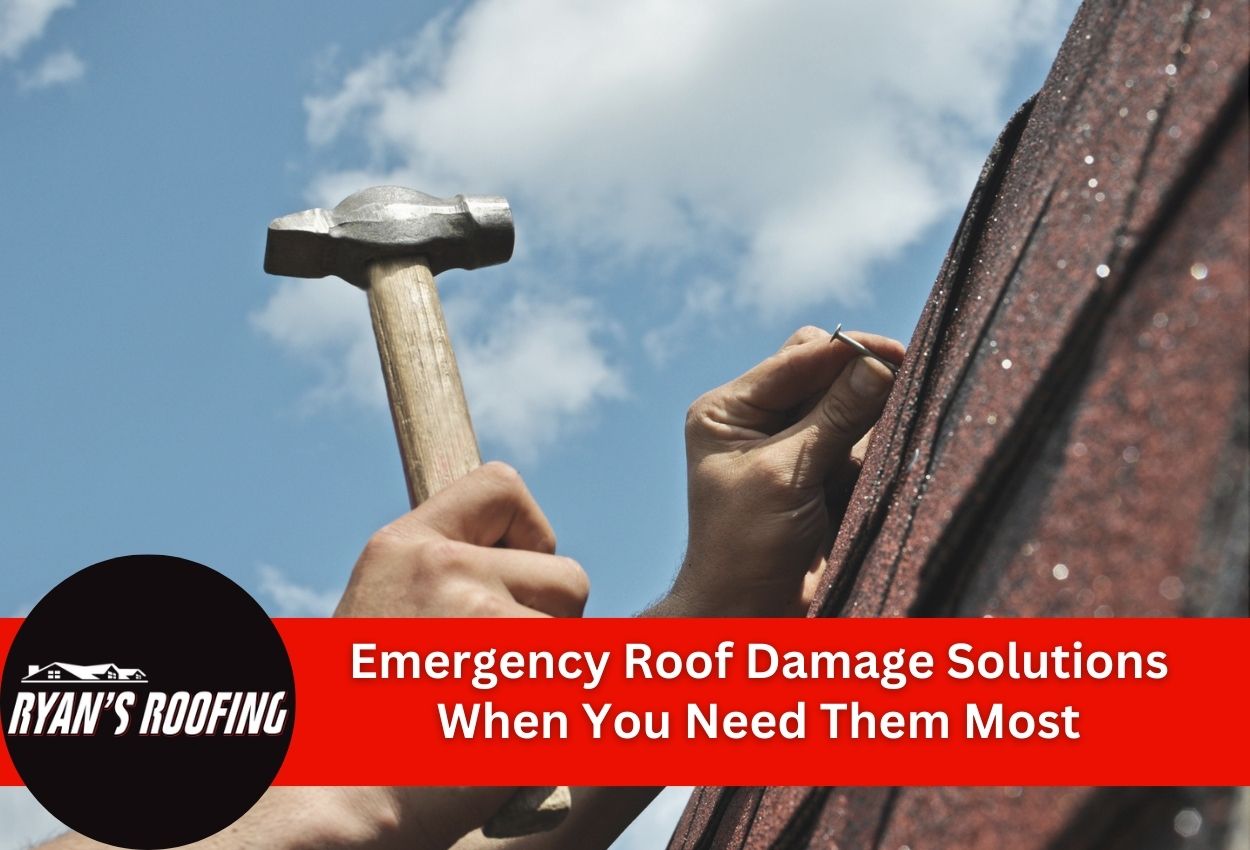 January 3, 2026Emergency Roof Damage Solutions When You Need Them MostNeed a fast roof fix? Learn tarping, patching, and water-control tips to protect your home temporarily.
 -
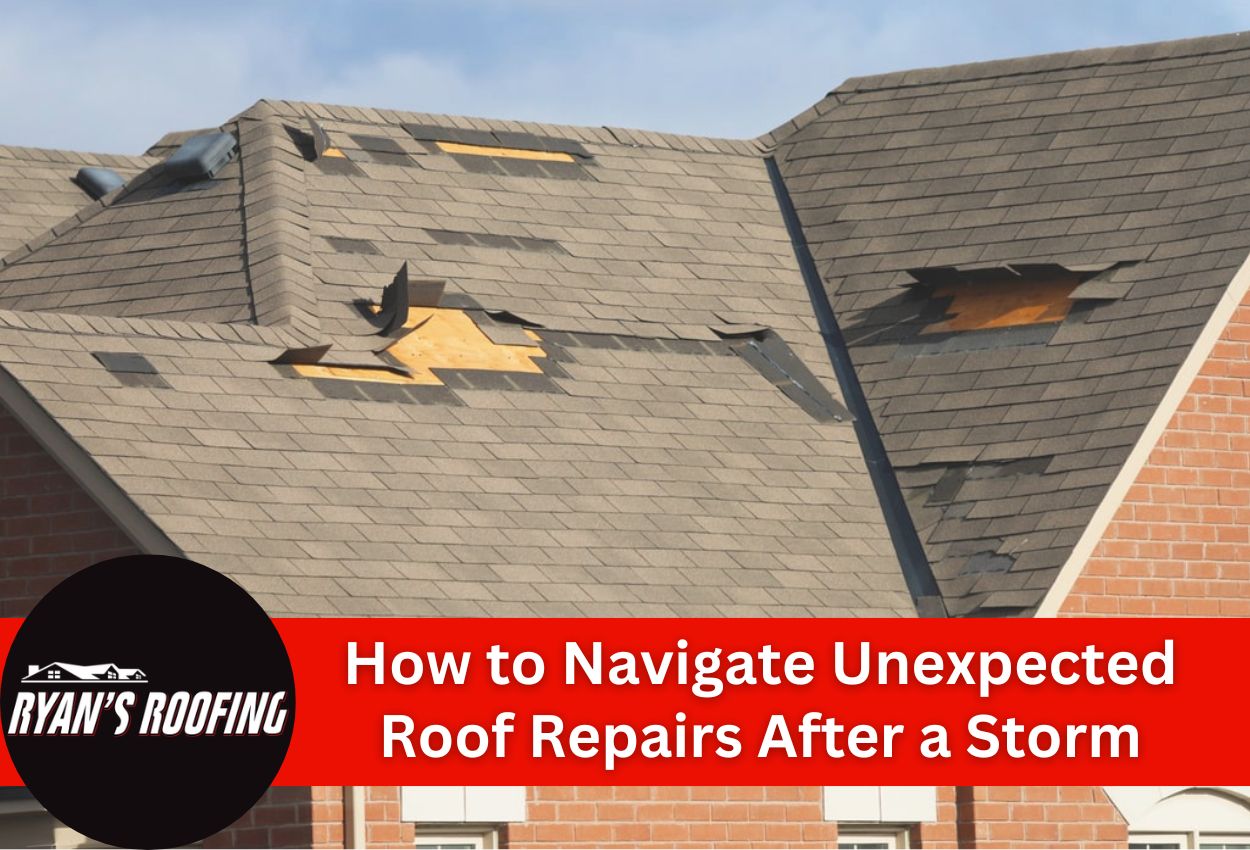 March 17, 2025How to Navigate Unexpected Roof Repairs After a StormStorm damage to your roof? Learn how to assess it and find trusted Harrisburg contractors to protect your home today.
Protect Your Home with Expert Roofing
Don’t wait for leaks or storm damage to cause costly repairs. Our experienced roofing team provides fast, reliable service, high-quality materials, and lasting results. Ensure your home stays safe, secure, and looking great—contact us today for a free estimate.